
In addition to your Safety Razor and Blades, the right shaving accessories are key.
HOW TO USE AND CARE FOR YOUR SAFETY RAZOR
GATHER YOUR SHAVING ESSENTIALS
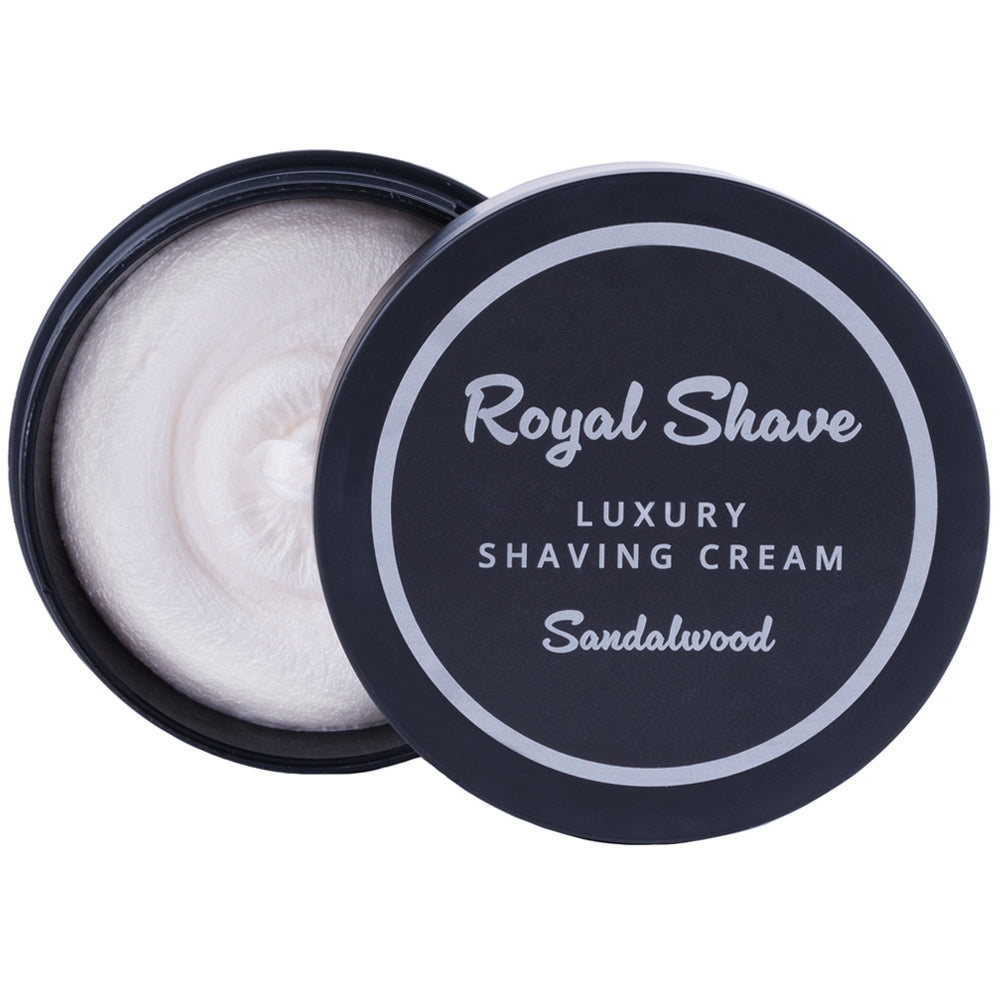
SHAVING CREAM
A good Shaving Cream (or shaving soap) is essential to softening hair and cushioning between skin and blade.
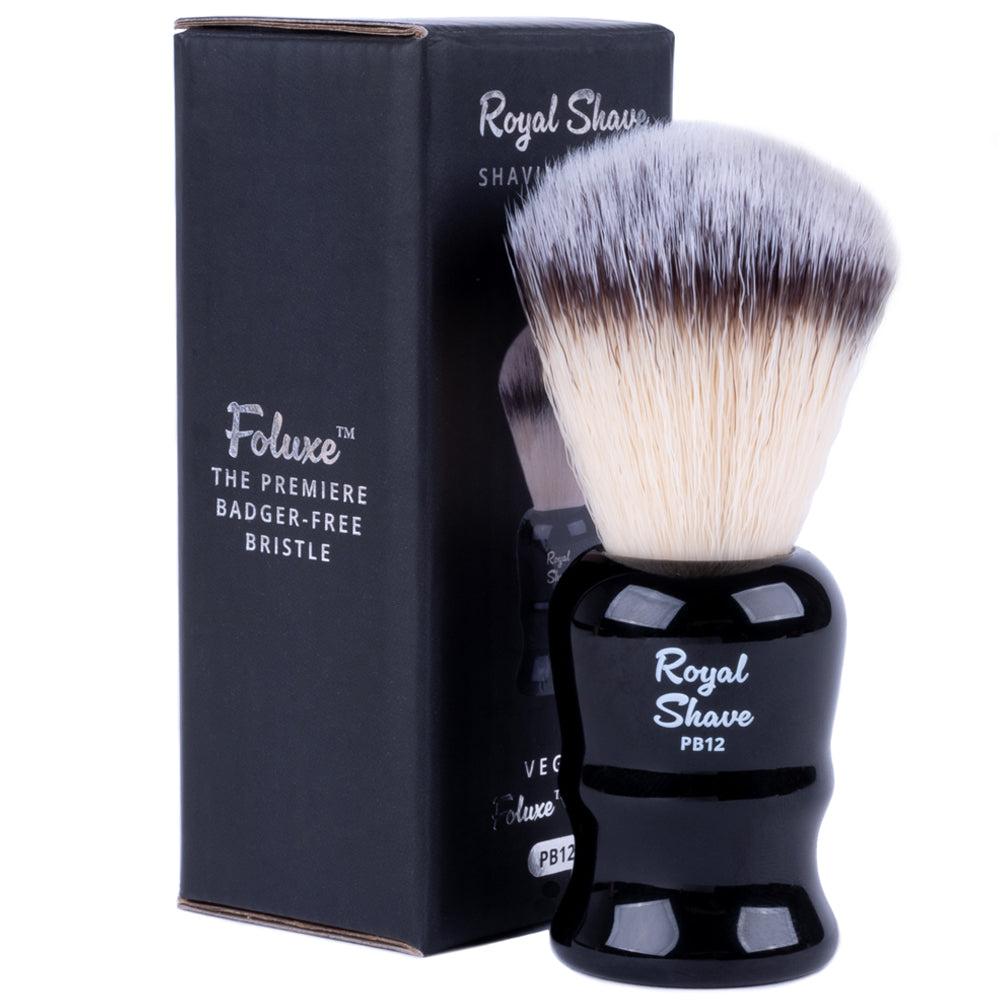
SHAVING BRUSH
Our PB12 Brush is made from high grade synthetic bristles to provide softness on skin and rigidity for creating a rich lather.
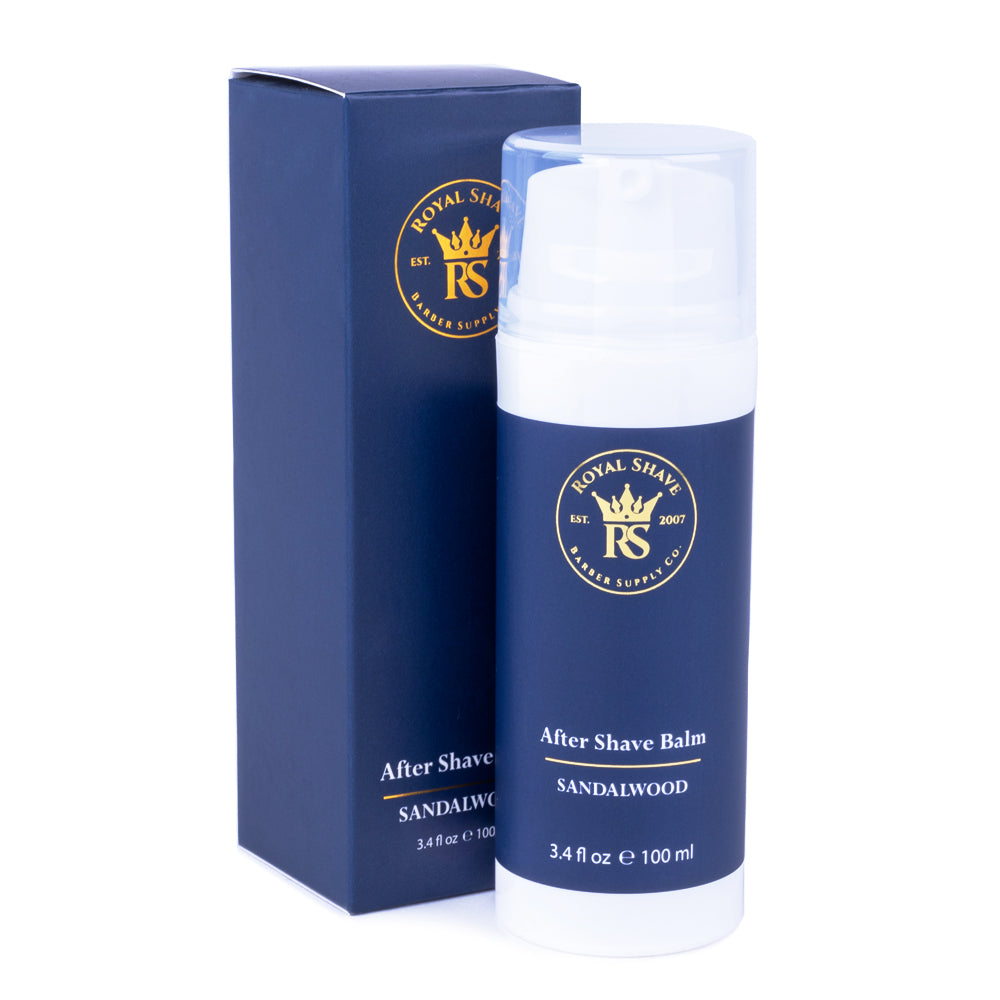
AFTERSHAVE BALM
Our quick absorbing Aftershave is formulated to hydrate and protect skin post-shave. Sandalwood scented.
BEFORE YOU BEGIN
Prepping your Safety Razor and skin are essential to a comfortable shave.
CLEAN RAZOR
Starting with a clean razor will prevent skin irritation and keep your shave process smooth. We've got some tips below on how to properly clean your Safety Razor.
BLADE
Changing your blade between every shave is not necessary, however you should change about every 5-7 sessions to ensure you're shaving with a sharp blade.
PREP YOUR SKIN
Always start with a freshly cleansed face. This will help soften hair and remove natural oil build up before applying preshave oils and shaving creams/soaps.
HOW TO SHAVE WITH A SAFETY RAZOR
This general guide will get you started, but keep in mind that your razor and skin type can call for some adjustment.
GET THE RIGHT ANGLE
Hold your razor against your cheek at a 30 to 45 degree angle. While gently holding skin taught, slowly pull razor across your cheek and take note of when whisker are cut. The correct angle can vary based on your selected razor.
KEEP GENTLE PRESSURE
Allow the weight of the Safety Razor apply its own pressure. Keeping the razor against your skin should be the only pressure applied by you. Pressing the razor firmly into skin instead of gliding puts you at greater risk for injury.
SHAVE WITH THE GRAIN
Shaving WITH the grain will prevent against irritation and ingrown hairs post shave. One pass generally does the trick, but trickier areas or those with thicker growth may need to additional passes to achieve smooth skin.
USE SHORT STROKES
Short strokes and lifting between passes will minimize dragging and irritation. It also helps maintain shaving with the grain as growth patterns can change direction. Be sure to rinse build up from the razor head as you go.
HOW TO CLEAN AND MAINTAIN YOUR SAFETY RAZOR
Keeping a clean Safety Razor is a must. Below are Royal Shave's recommendations for proper care and when to clean.
ACCESSORIES TO MAINTAIN YOUR RAZOR
From routine care to deep clean, these accessories are must haves.
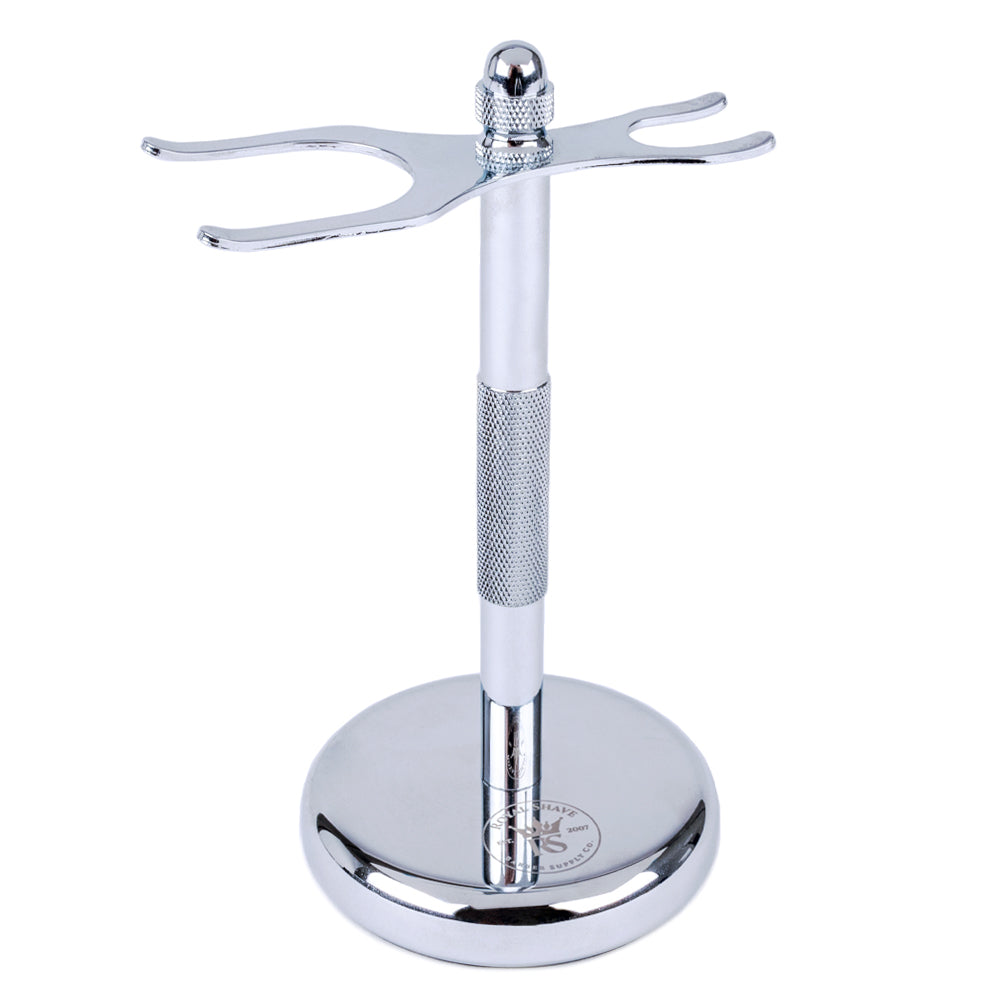
SHAVING STAND
Storing your Safety Razor on a stand will keep it clean and allow proper airflow- preventing corrosion or rust.

BARBER TOWEL
Our barber towels are cut long from linen-woven 100% cotton. They're handy for cleaning up during and after shaving.
DISH SOAP & BRUSH
Mild dish soap and a soft toothbrush are recomended for deep cleaning sessions. More aggressive cleaners like diluted vinegar may be needed in some cases.
WHEN TO CLEAN YOUR RAZOR
Maintaining your razor is important to the quality of your shave.
AFTER EACH USE
Rinse the razor with warm water and wipe clean with a soft, lint free towel. Store properly- on a stand in a well ventilated area.
WEEKLY/MONTHLY
Disassembling to clean your razor is the best way to remove build up from shaving cream & calicum deposits. A soft bristle tooth brush & mild dish soap is all you need.
WHEN TO DEEP CLEAN
When calcium build up or other gunky deposits are present and won’t budge during monthly cleaning, its time to deep clean to protect delicate areas such as threads.
HOW TO DEEP CLEAN YOUR SAFETY RAZOR
Below is a general guide to deep cleaning your Safety Razor. It is always best to test new cleaners in an inconspicuous area first.
1. DISASSEMBLE & RINSE
Carefully take your razor apart, setting the blade aside. Rinse each piece under warm water to remove loose debris and take note of any especially gunky areas. Those with adjustable razors will want to use extra caution around adjustment wheels.
2. USE DISH SOAP & SOFT BRUSH
Mild dish soap and a soft tooth brush will offer a safe and effective way to deep clean. Using warm water in this process will assist with breaking up any gunk. Be sure to concentrate on areas like threads or hinges.
3. OPTION: DILUTED VINEGAR
One part vinegar to 3 parts warm water will remove more stubborn build-up. Soak for about 10 minutes before following up with a soft brushing. Those with Chrome plated metal razors may want to soak for less time or should use this method sparingly.
DO YOU NEED TO DISINFECT?
The simple answer is no, you do not need to disinfect your personal razor. Using harsh disinfectant chemicals can damage your razors coating. Keeping the tool clean and changing your blade is enough!

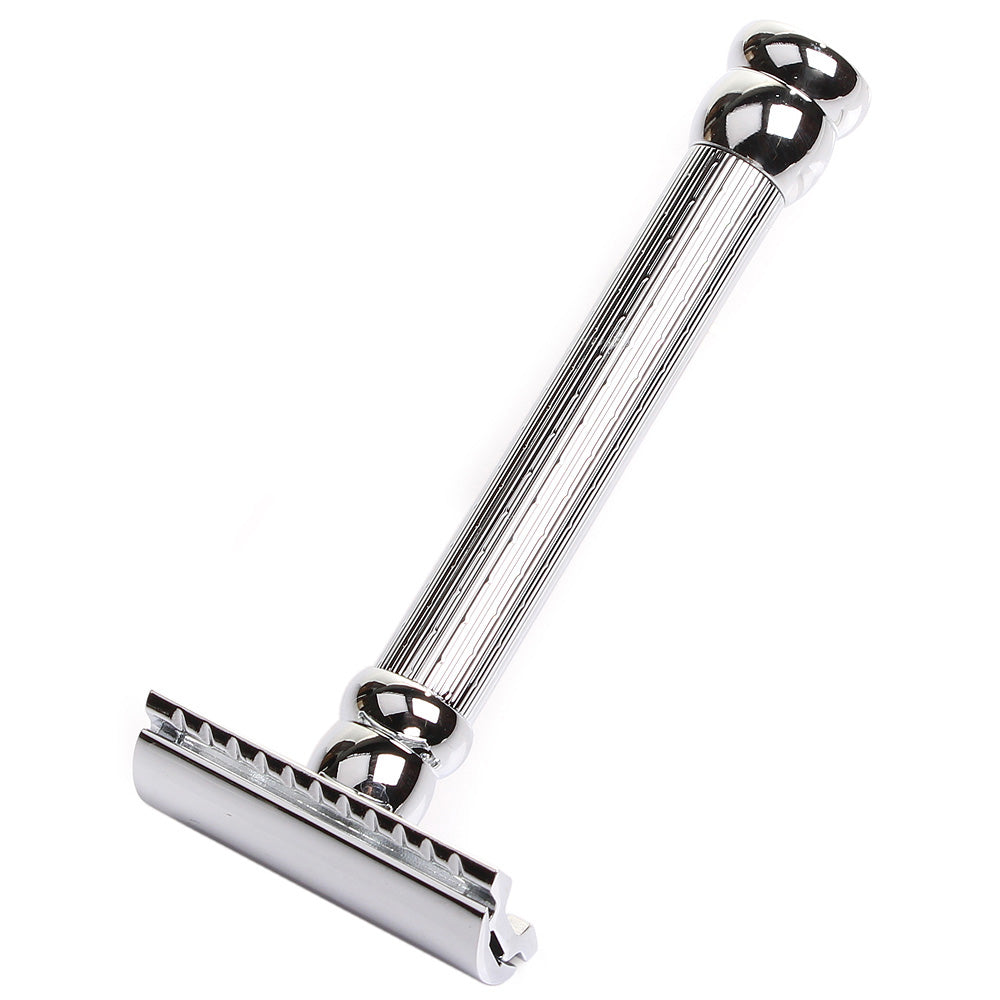
Merkur 33C Classic DE Safety Razor- Chrome
Sold out
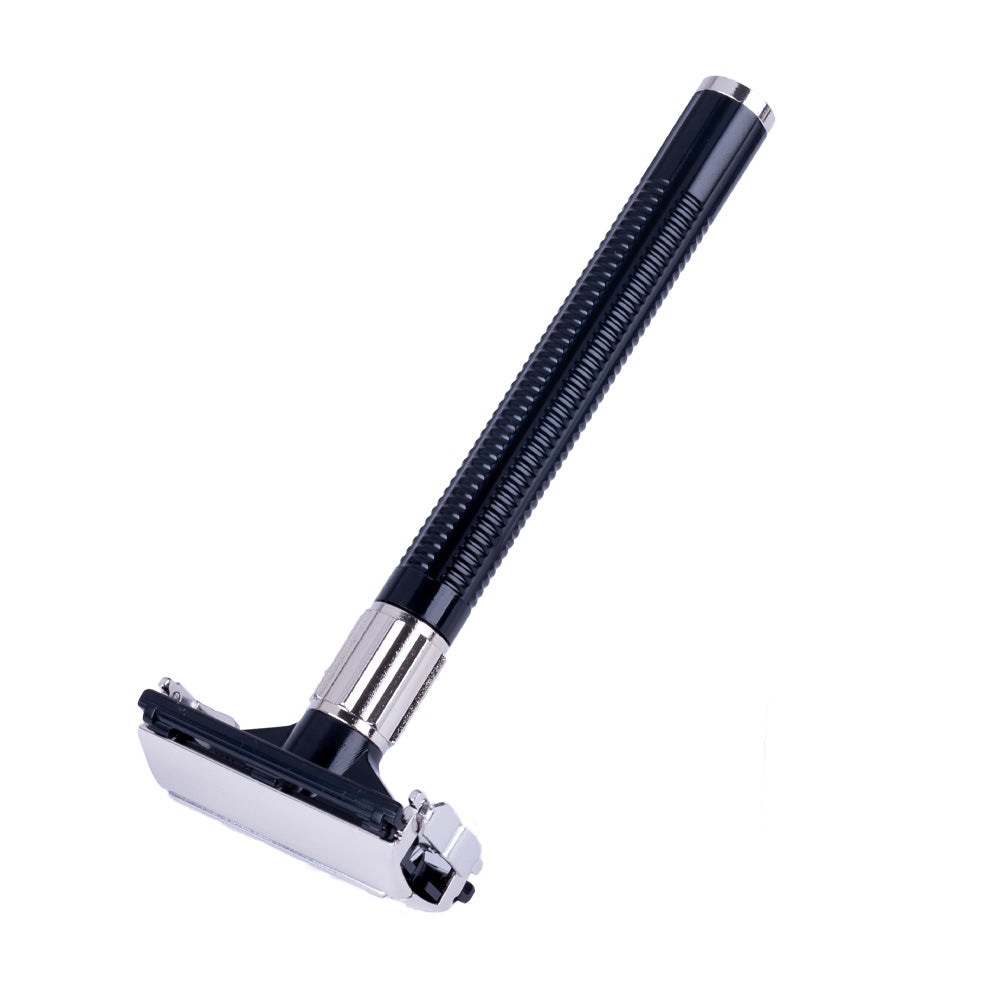
Muhle R101 Open Comb Safety Razor- Black Handle
Sold out
Merkur Future 700 Adjustable Safety Razor- Satin Finish
Sold out